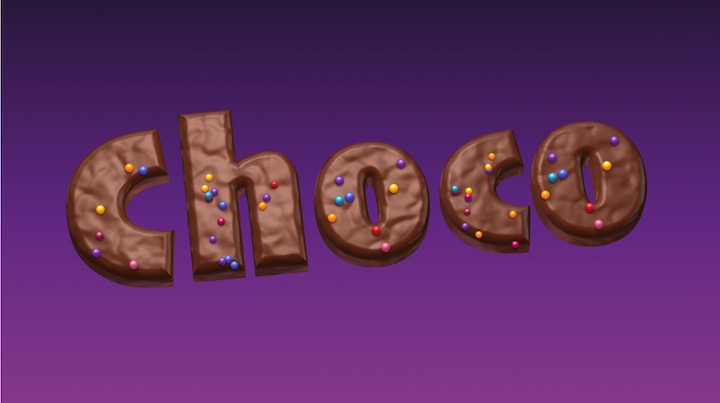
Chocolate Text Effect
Here is what will be covered in this Art Text tutorial:
Create and Position a 3D Text
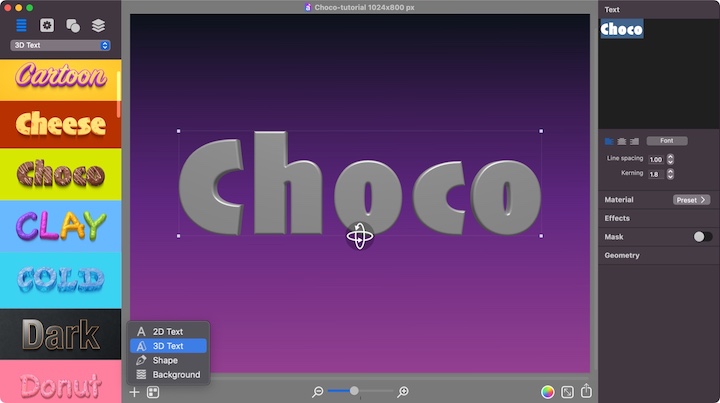
Before starting the design, you can choose a background from the presets that Art Text offers. Note that you can export the graphics on a transparent background, but, while designing the chocolate text, the background will make it visually convenient to design the text effect.
Add a 3D text via the “+” button, or use the Layers menu > Add 3D Text.
Change the default text to Choco in the Text tab of the Inspector, and change the font to Skia - Black Condensed with Kerning set to 1.8.
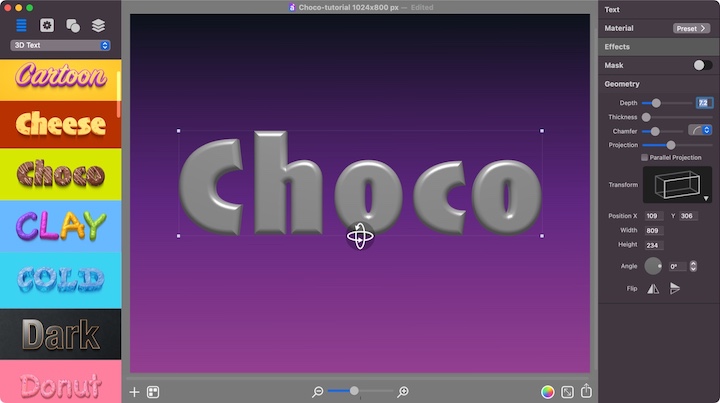
Tune depth, chamfer and projection properties via the Geometry tab.
- Depth–7.2
- Thickness—leave the control at the left-most position.
- Chamfer—move the slider to the left so that the surface of your Choco text looks more or less flat, not in the form of a donut.
- Projection—set the slider control to the middle position.
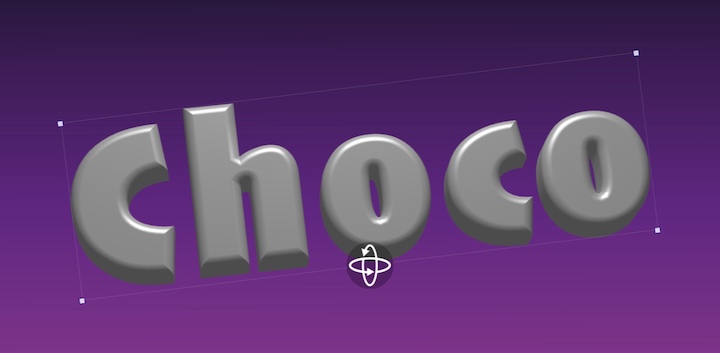
Then, using the 3D rotation wheel, turn the text a little in 3D.
After that, turn the text boundary anti-clockwise. For this, you can move the mouse cursor to a text bound corner until you see the rotation arrows, or use the Angle wheel in the Geometry tab.
Designing a Choco Surface for 3D Text
In the Material tab of the Inspector, set the texture solid brown color according to the following HSB Sliders parameters:
- Hue – 18°
- Saturation – 74%
- Brightness – 44%
- Opacity – 100%
The Texture Scale slider should be set to 12.8.

Next we move on to setting up Ambient, Diffuse and Specular colors. which affect the look of shadowed and lit areas of the object. Below you will find HSB Sliders parameters for each of them.
Ambient:
- Hue – 20°
- Saturation – 34%
- Brightness – 34%
- Opacity – 100%
Diffuse:
- Hue – 359°
- Saturation – 10%
- Brightness – 61%
- Opacity – 100%
Specular
- Hue – 321°
- Saturation – 0%
- Brightness – 33%
- Opacity – 100%
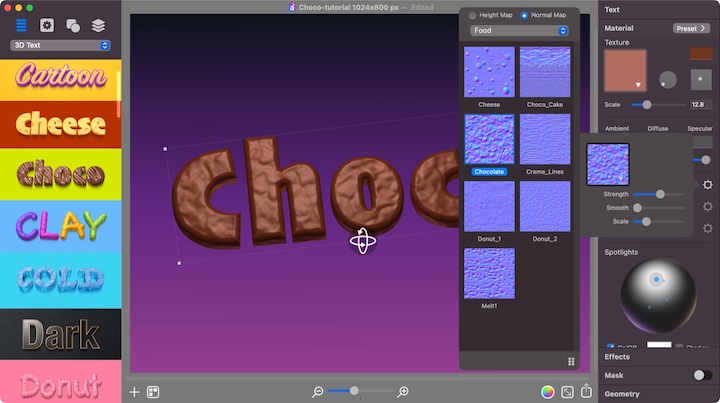
Now it’s time to create a chocolate-looking surface on the text. For this, Art Text has a Bump Map feature that creates the surface’s roughness. By clicking the gear icon, you can change the Bump Map settings.
Once in the Bump Map settings, click on the Mask image to change it. I will switch to the Normal Map-Food category, and then select the Chocolate mask. Once selected, you will see the 3D text change immediately. Other Bump Map parameters should be set as follows:
- Strength—move the slider half the way.
- Smooth—leave the slider at the left-most position.
- Scale—pull the slider a quarter from the left.
Next, go to the Environment Texture. This tool helps to simulate 3D text light reflection. By clicking the gear icon, you can access the Environment Texture settings, and then click on the image to choose ball 86 from the Spherical category.
- Opacity—pull the slider quarter from the left.
- Smooth—pull the slider to the right-most position.
- Blend Mode–Screen.

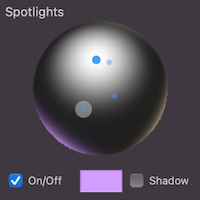
Art Text lets you set up four external light sources via the Spotlights section. Turn on all of them and set the color for them as follows.
White Spotlight HSB Sliders:
- Hue – 359°
- Saturation – 10%
- Brightness – 61%
- Opacity – 100%
Brown Spotlight HSB Sliders:
- Hue – 359°
- Saturation – 10%
- Brightness – 61%
- Opacity – 100%
Violet Spotlight HSB Sliders:
- Hue – 359°
- Saturation – 10%
- Brightness – 61%
- Opacity – 100%
Yellowish Spotlight HSB Sliders:
- Hue – 359°
- Saturation – 10%
- Brightness – 61%
- Opacity – 100%
Then you have to try to position them as close as possible as shown in the picture below.
Note that you can pull the spotlight outside the sphere, which will effectively place the spotlight at the back of the object and cause the backlight for 3D text. This is what I did with all but White Spotlight.
Scatter Sugar Sprinkles on the Text Surface
Once done with creating a 3D Chocolate text, to give it an even more realistic look, try dropping some sugar sprinkles on top of it.
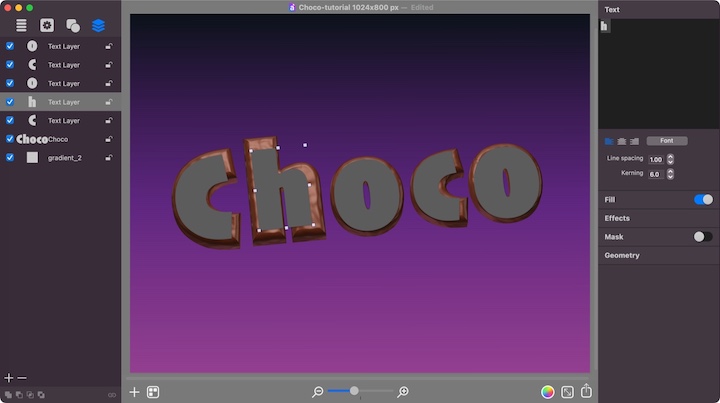
To accomplish this, use the Spray Fill tool. Start by adding a 2D text, since the Spray Fill tool works only with a 2D text. Write the word Choco and set the font to the same one as for the 3D text, Skia—Black Condensed.
Then, from the Layers menu, choose Split into Letters. Then resize and position individual 2D letters in such a way that they appear inside the respective 3D Choco letters.
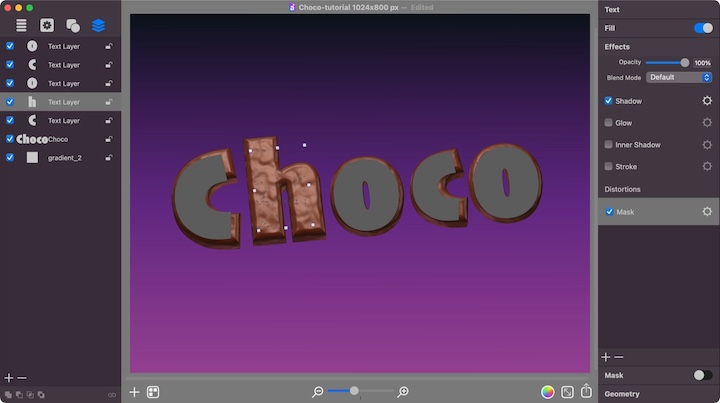
Before spreading sugar sprinkles over the letters, apply a distortion effect to them to create some random holes. Select a letter, and, via the effects tab of the Inspector, add a Mask distortion by clicking the plus button. Set mask parameters as follows, and make sure to tick the Inverse checkbox to get the opposite effect of the mask.
- Texture – Mask15
- Scale – 0.36
- Brightness – 0.34
- Contrast – 0
- Blur – 0
Then do the same for every other 2D letter. Or, you can select your letter with the distortion effect applied, and go to Edit menu > Copy Style. Then select other 2D letters, and use Edit menu > Paste Style to them.
Now select all the 2D letters in the word Choco, and go to the Spray tab under the Fill section of the Inspector. Once there, click the Presets button to select the Sprinkles preset. Click on it, and sprinkles will fill the 2D text shape.
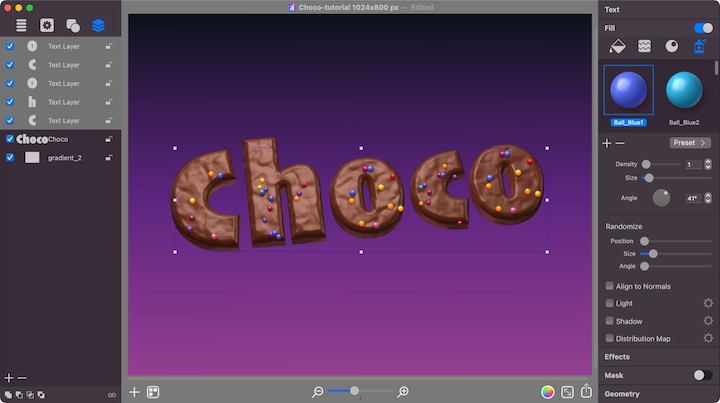
The size of the sprinkles will likely be smaller than you need, so you will have to adjust them using the Spray Fill properties.
- Density – 1
- Size—pull the slider slightly off the left side
- Angle – 41°
Randomize Section lets users control the randomness of the fill items position, difference in sizes and random rotation, if needed.
- Randomize Position—move the slider two-thirds from the left side.
- Randomize Size—move the slider one-fifth from the left side.
- Randomize Angle—leave the slider at the left-most position.
Your chocolate typography is ready! You can use it as is or export it to an image file with transparent background for use elsewhere.
Tip:
You can use Art Text templates (Choco from 3D Designs set, Choco2 from 3D Text set, #6 from Edible Letters set, or Sweet from Embossed Effects set) to create chocolate typography literally in seconds.