Liquid Text Animation
In this tutorial you will learn how to create liquid text animation with Art Text 4. The tutorial focuses on using shading materials and the Roundness distortion.
Adding 2D Text
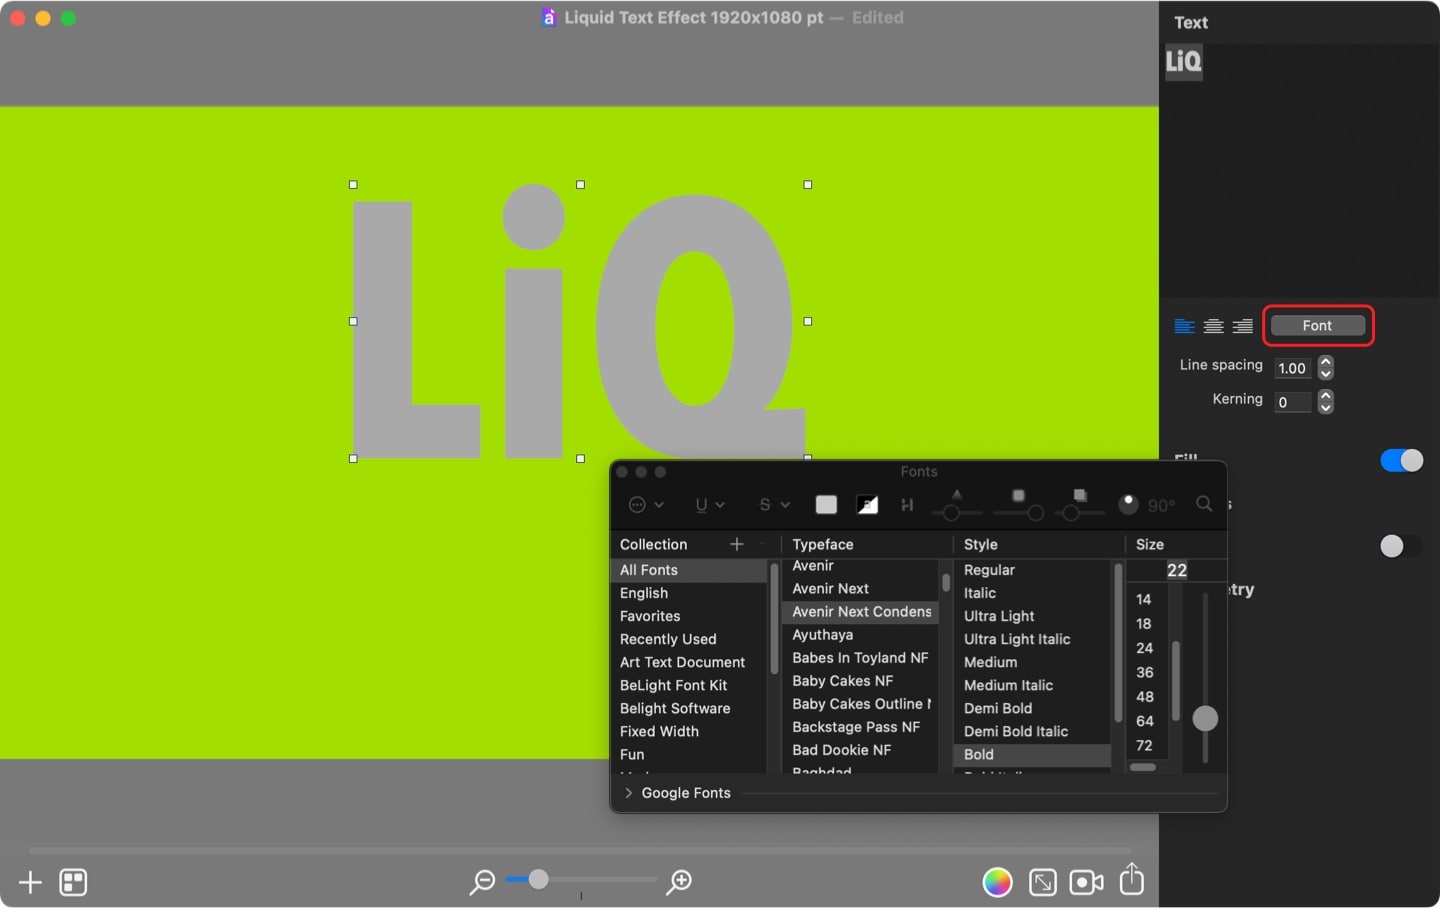
Start by adding 2D text. For this particular design, you will need to split the word liquid into two parts LiQ and UiD. And, begin designing with the first part (LiQ).
Via the Fonts dialog change the font to Avenir Next Condensed.
Applying Shading Materials
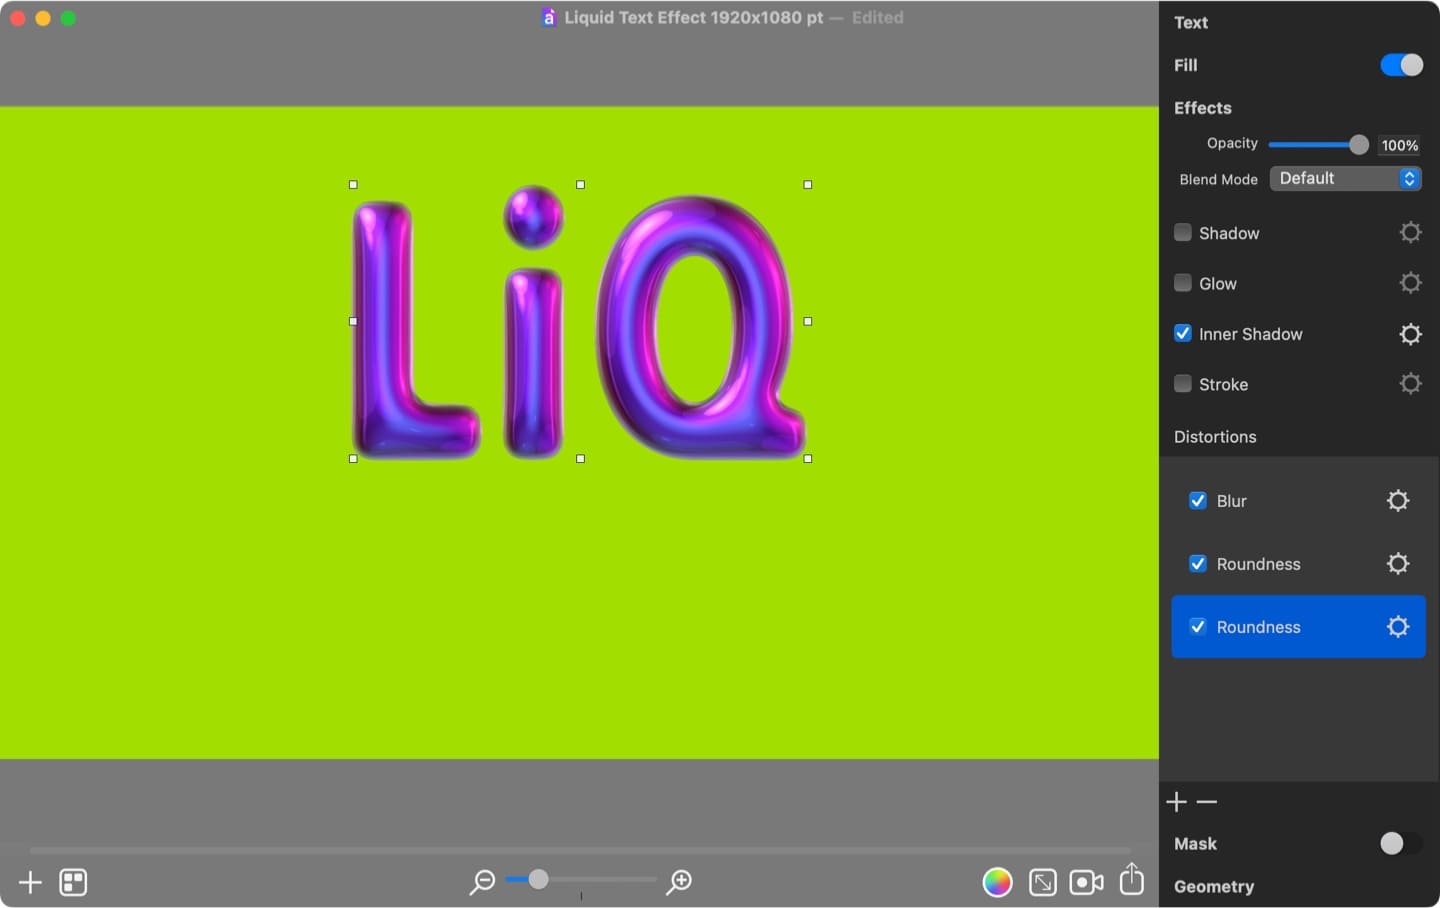
Once the text is ready, you can apply one of many supplied Shading Materials to it. For this go the Shading tab under the Fill section and click on the desired Shading Material. For this particular tutorial, use 56_2 material from the Environment collection.
To give the shading material some volume, increase its Size and Depth properties by pulling the respective slider to the right, or by entering the exact values (Size: 24.2 and Depth 28.5).

Inner Shadow Effect
To ensure that the text design blends well with the background, activate Inner Shadow in the Effects section and use the color picker to match its color with the green background.
Working with Text Distortions
Now you can move further in the Effects section to Distortions. Using the plus button, add three Distortion effects, Blur first, followed by two Roundness distortions.
Then change the Blur distortion mask to Gradient 1 from the Mask 2 category, and set higher Scale and lower Amount values:
- Scale: 2.21
- Amount: 20
The top Roundness distortion properties should be set as follows:
- Roundness: 15
- Offset: 0.20
- Sharpness: 1.0
The lower Roundness distortion properties can remain as set by default:
- Roundness: 20
- Offset: 0.20
- Sharpness: 1.0
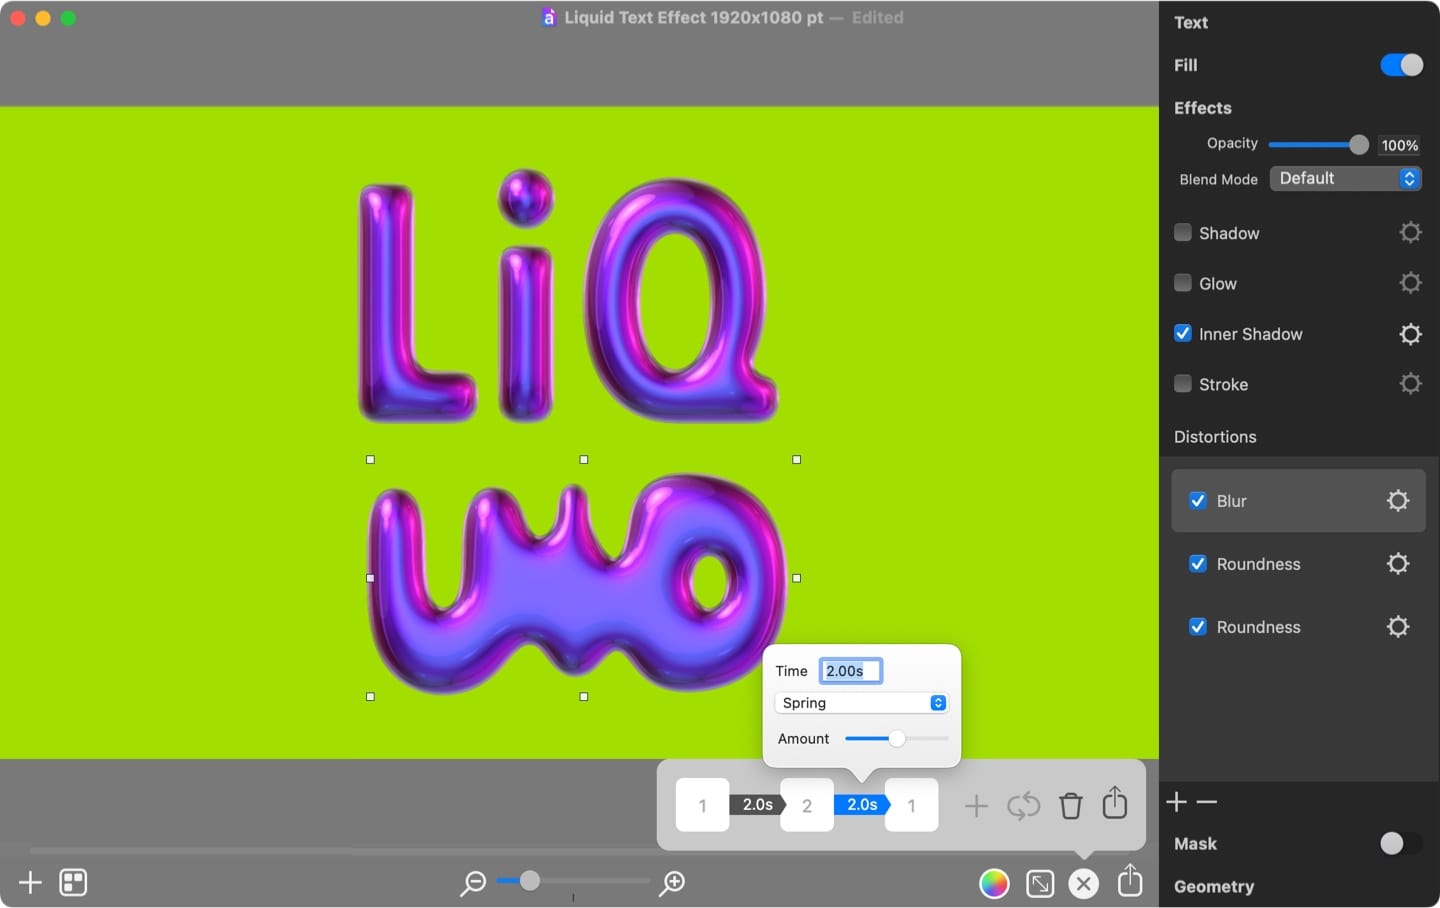
Once done, duplicate the text using the context menu or use Command+D shortcut. Then change the letters to UiD in the duplicate. Adjust the size and positioning two parts of the word liquid one above the other.
Now select the lower part of the word (UiD) and make it look liquid-like. For this, increase roundness parameters for both Roundness distortions.
The top Roundness distortion properties should be changed to:
- Roundness: 75
- Offset: 0.20
- Sharpness: 1.0
The lower Roundness distortion properties should be changed to:
- Roundness: 55
- Offset: 0.20
- Sharpness: 1.0
Creating Liquid Text Animation
Art Text animation is a step-by-step process. At each step, called keyframe, you change an object's properties in the design. Then Art Text automatically creates a smooth transition from one state of the design to another and records a video.
For this specific example the program will record a transition from normal text state (as in LiQ) to liquid-like state (as in UiD).
Let’s start creating animation by adding keyframes. For this, bring up the Animation panel by clicking the camera button, then click the plus button twice. This will add two keyframes, the original state and the next stage the design should change to.
While the second keyframe is selected, change UiD part back to the original by changing both Roundness distortions parameters.
The top Roundness distortion:
- Roundness: 15
- Offset: 0.20
- Sharpness: 1.0
The lower Roundness distortion:
- Roundness: 20
- Offset: 0.20
- Sharpness: 1.0
Now select the upper part of the word (LiQ) and change roundness parameters for it.
The top Roundness distortion:
- Roundness: 75
- Offset: 0.20
- Sharpness: 1.0
The lower Roundness distortion:
- Roundness: 55
- Offset: 0.20
- Sharpness: 1.0
Once done, click the Loop button, which will add a keyframe identical to the first one.
Prior exporting the animation, adjust both transitions time to 2 seconds and change the transition effect to Spring. Spring transition effect will add a slightly bouncing effect.
Click the Export button in the Animation panel to create mov, mp4, m4v, or GIF file.