Sand Text Effect
Follow these steps to reproduce an exact copy of the sand text as in the video tutorial.
Start by adding 2D text using the Plus button. Then change the default text to the word LOVE via the Text tab of the Inspector panel on the right.
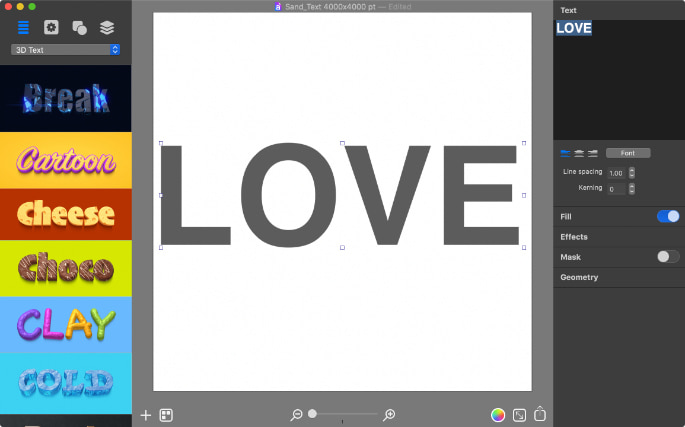
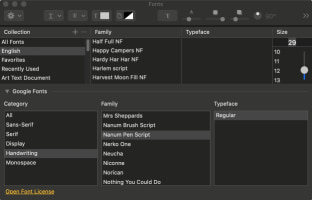
After that, change the font to the one that resembles handwriting. By clicking the Font button in the Inspector panel, the Font dialog will appear with all your system fonts. If you click on Google Fonts, the Font dialog will expand to show the Google Fonts collection. I used the Nanum Pen Script font from the Handwriting category.
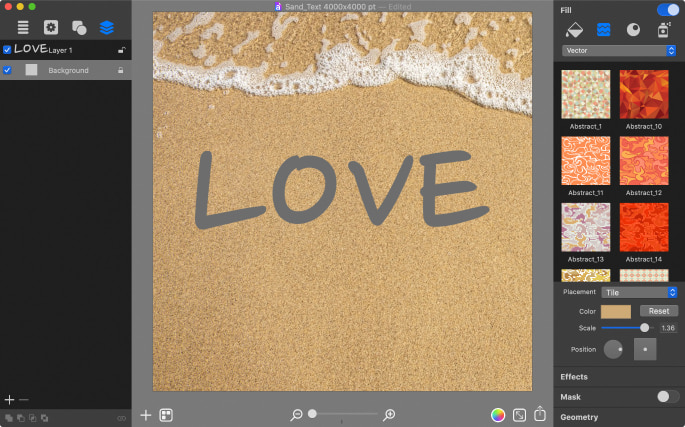
Next, add a background layer and use a Custom Folder option to import a photo of a sandy beach. With the Scale slider, you can fit the picture to the canvas any way you’d like it.
I recommend you then lock this layer to avoid background movement when you continue to work with the text.
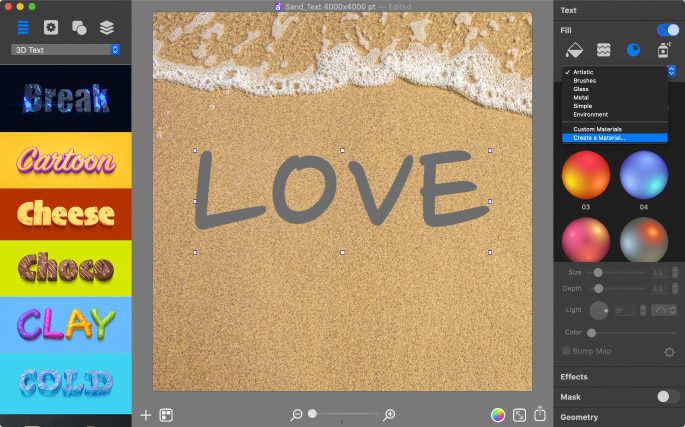
To return to working with the text, click on it to select. Then move on to create a custom Shading Material, for this open the Shading tab in the Fill section of the Inspector.
Now in the drop-down list of Shading Material categories, select Create a Material.
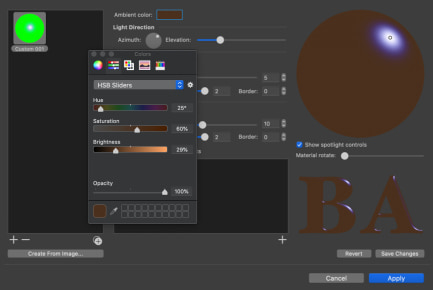
Creating a Shading Material involves setting up Ambient color, light direction and elevation, as well as Diffuse and Specular colors, shininess and spot size. You can add more than one Specular spotlight.
Ambient color parameters for HSB Sliders are as follows:
- Hue — 25
- Saturation — 60%
- Brightness — 29%
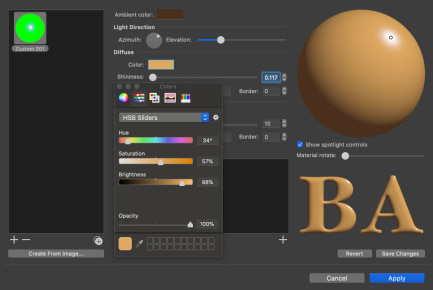
Diffuse color parameters for HSB Sliders are as follows:
- Hue — 34
- Saturation — 57%
- Brightness — 88%
Shininess is set to 0.117.
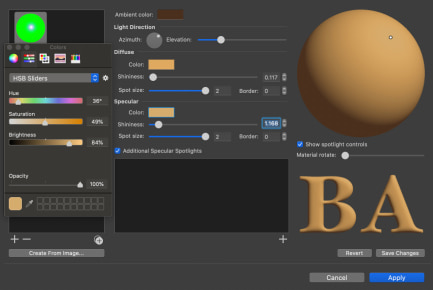
Specular color parameters for HSB Sliders are as follows:
- Hue — 36
- Saturation — 49%
- Brightness — 84%
Shininess is set to 1.168.
Click the Apply button to save the new Shading Material properties. The new Shading Material will appear in the Custom Materials list.
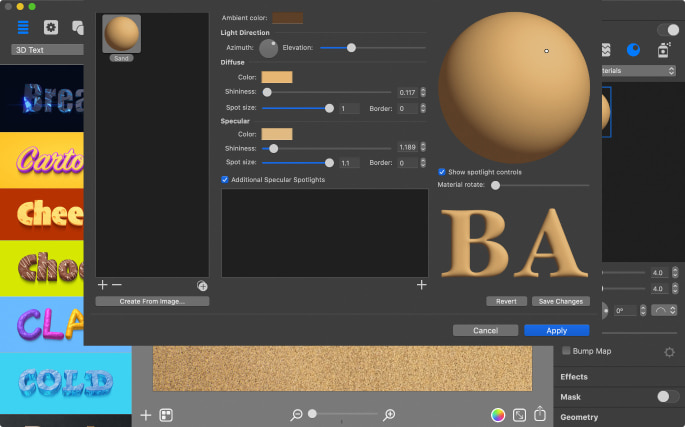
Click on it to apply to the word LOVE. Change Size and Depth if necessary, and activate the Bump Map option to make the text surface uneven.

Click on the Gear icon next to the Bump Map to change the texture and make the surface rough to look more like sand. I recommend you use an Asphalt mask from the Masks 2 collection.
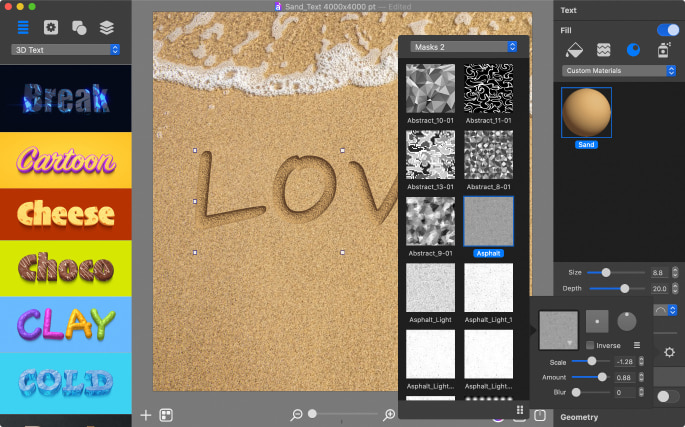
Then, you can adjust the texture scale and amount to make it resemble sand even more.
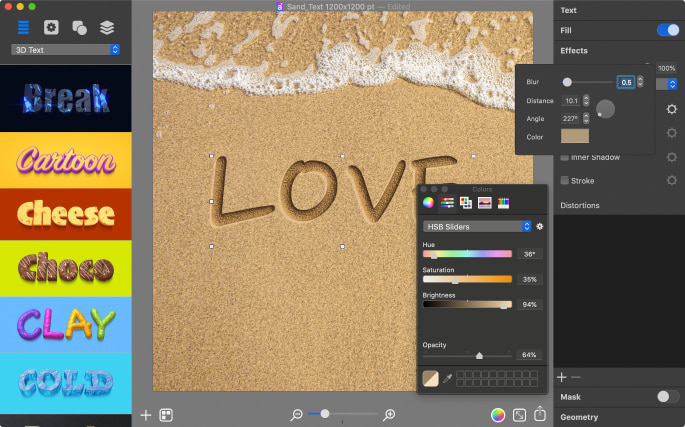
Now, move on to the Effects tab and add Shadow with the following parameters:
- Blur — 0.5
- Distance — 10.1
- Angle — 227
Color:
- Hue — 36
- Saturation — 35%
- Brightness — 94%
- Opacity — 64%
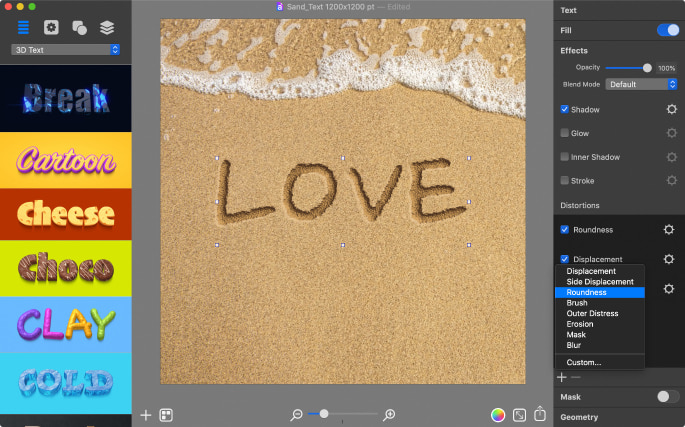
To add a Distortion effect, click the plus button under the Distortion section and select the Distortion you want to use.
Add Roundness distortion first to make the text corners more rounded. Then, add a Displacement distortion to create torn text edges. After that, add another Displacement to intensify the torn effect.
The parameters for each Distortion effect are below.
Roundness:
- Roundness — 26
- Offset — 0.12
- Sharpness — 1.00
The first Displacement:
- Scale — 0.13
- Amount — 0.91
- Details — 50
The second Displacement:
- Scale — 0.26
- Amount — 0.86
- Details — 45
Next, duplicate the text layer, for this use the Command+D key.
After that, select the lower layer with text and change the Shading Material light direction 180 degrees. This is how you achieve an embossed effect for one layer and a debossed effect for another.
Then, remove all of the Distortion effects from the newly created text layer and replace them with a new set of Distortions. This time, you will also need to add the Outer Distress distortion after Roundness.
Here are the order and parameters for the Distortion effects used.
Roundness:
- Roundness — 45
- Offset — 0.48
- Sharpness — 1.00
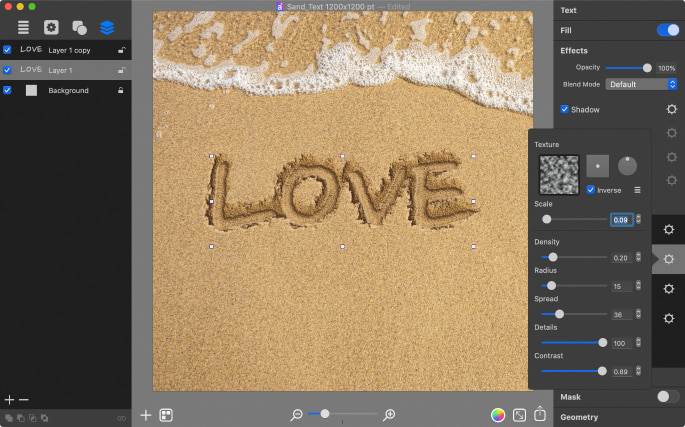
Outer Distress:
- Mask — Clouds_2 from Masks 2 category
- Scale — 0.09
- Density — 0.20
- Radius — 15
- Spread — 36
- Details — 100
- Contrast — 0.89
The first Displacement:
- Scale — 0.33
- Amount — 2.59
- Details — 45
The second Displacement:
- Scale — 0.58
- Amount — 1.94
- Details — 50
You are done with creating the Distortion effects and will move on to adjusting the Shading Material Bump Map. For this switch back to the Fill tab of the Inspector.
These are the parameters for the changed Bump Map:
- Mask — Clouds from Masks category
- Scale — -2.9
- Amount — 1.00
- Blur — 0
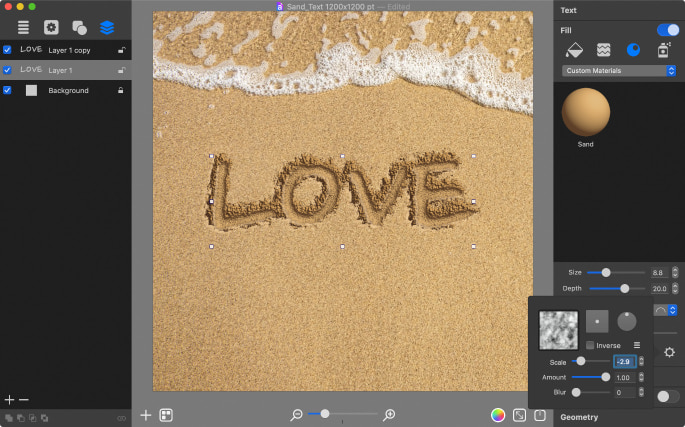
Congratulations, your sand writing text effect is now ready!