Text Shape Animation
In this tutorial, you will learn how to create and animate an optical illusion text effect. For this, several different text distortions will be used. The text distortion effects are located in the Effects tab of the Inspector panel.
First, I will add two distortions─Displacement and Roundness. Slightly reduce the Roundness parameter, and, for the Displacement distortion, change the mask to Perlin_Noise_1. Then adjust the Scale Parameter and set the Amount to zero.
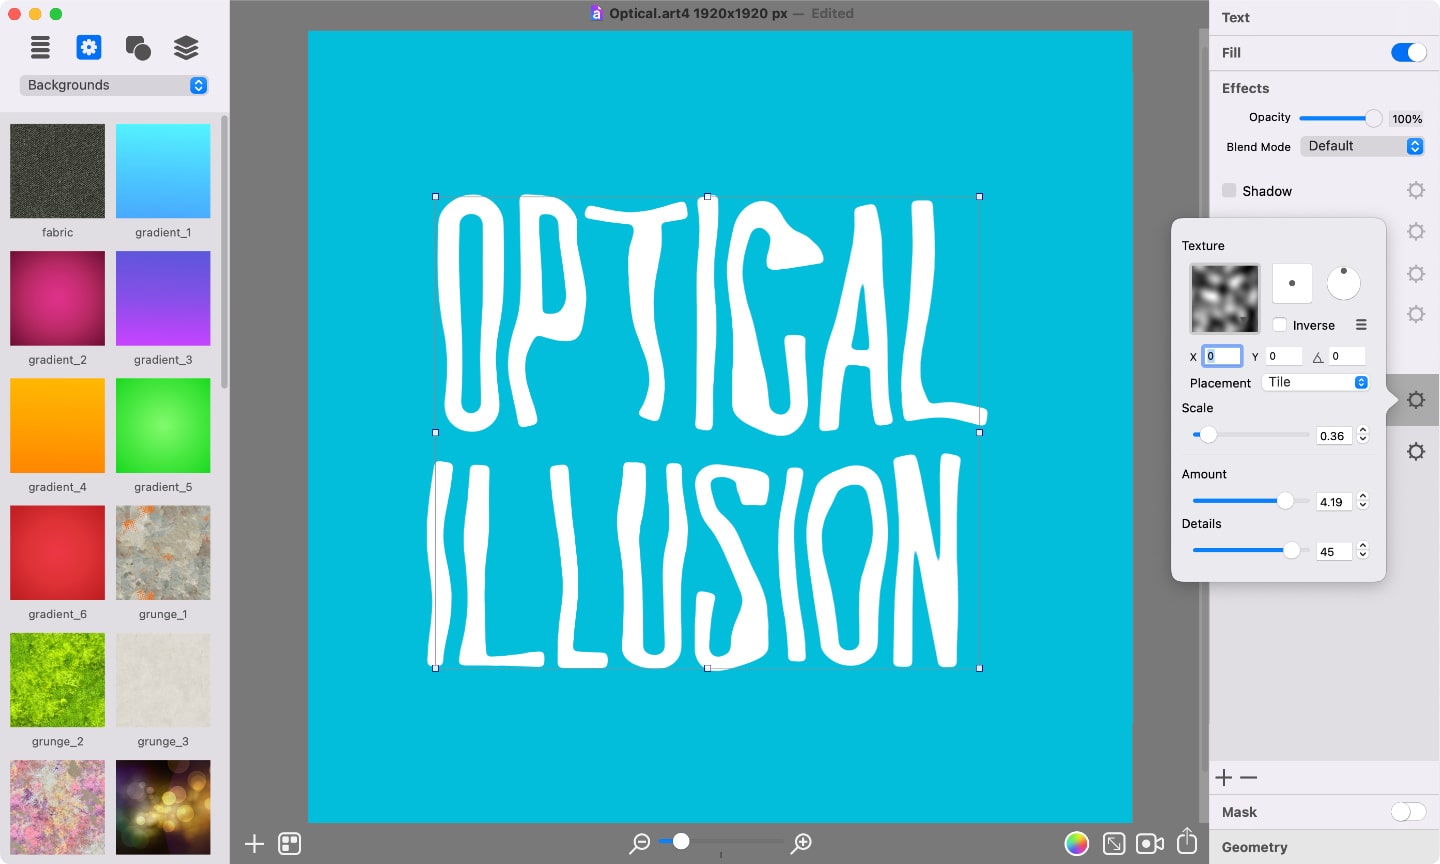
- Scale: 0.36
- Amount: 4.19
- Details: 45
After that, let’s move on to the Geometry tab to apply one of the transformation shapes. I will use the Convex shape and move the slider to the far left to make the transformation effect unnoticeable.
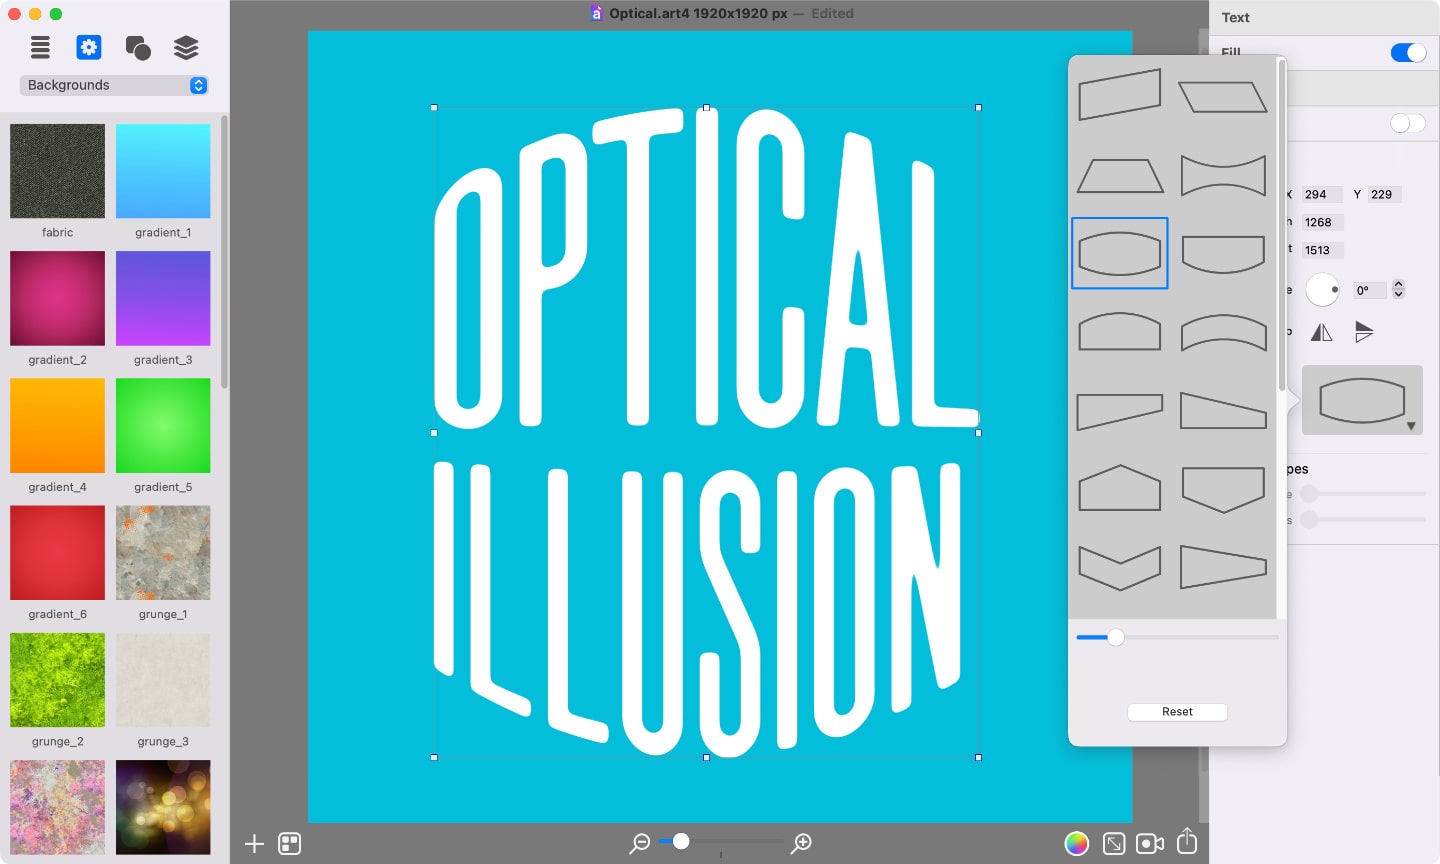
Then I will resize and position the text in the middle of the document. Those were the preparations for the initial keyframe, where the animation will start. And I can press the Add Keyframe button to create the first keyframe. My first keyframe will be plain text with no effects visible.
Then I press the Add Keyframe button and start applying geometry transformation in the second keyframe by pulling the slider in the geometry shape, but keep the text within the background borders. After that add another keyframe and pull the slider back to the leftmost position.
Next I add one more keyframe and switch back to the Effects tab to manipulate the distortions. I pull the Amount slider to the right for the Displacement distortion. After that add one last keyframe and return the slider to the zero position.
Since the text at the end looks exactly as it does in the beginning, there is no need to loop it. So, I will simply go ahead and export the animation.
Tips:
The Loop button adds the final keyframe identical to the first one and Art Text will create an animation that is smoothly looped.