2D Tools and Effects
Applying Textures
Art Text can apply textures to text and vector images such as icons or shapes. Applying textures to raster images usually makes no sense. You can use textures from the built-in library by choosing one of the categories. It is also possible to import textures from your hard drive by selecting Custom Folder in the list of categories.
To open the texture library, choose Texture in the Fill section.
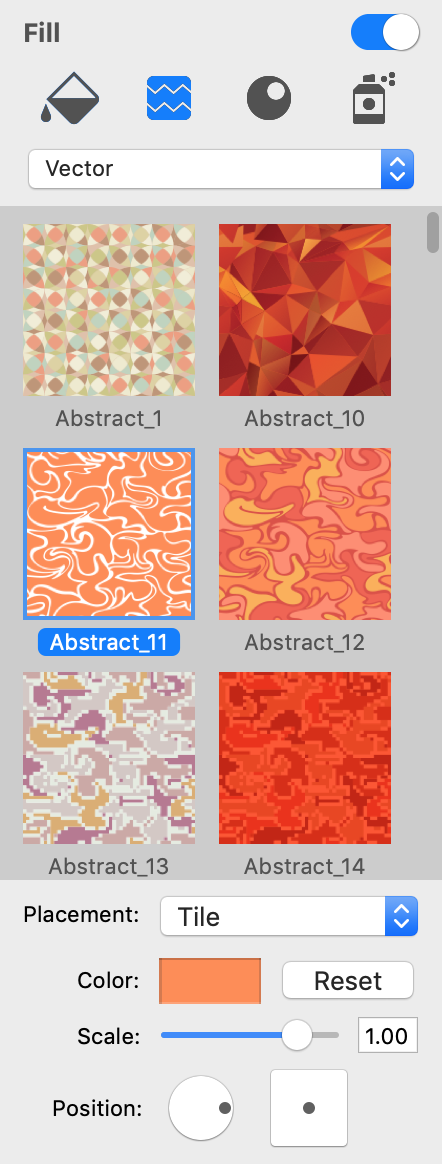
To apply a texture, select an object and click on the texture in the library.
The Placement option defines how the texture should fit the object.
The original object to which a texture will be applied.

The original image used as a texture.
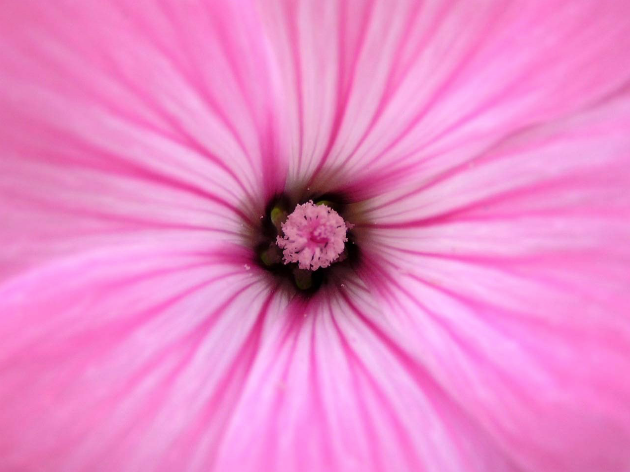
The Fit option matches the texture to the larger shape size. If the texture and object have different aspect ratios, the texture can be cropped.
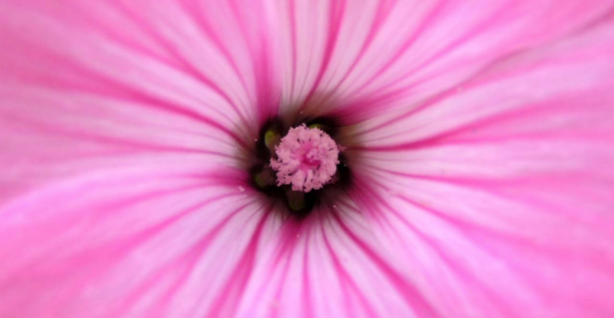
The Stretch option deforms the texture to fit the shape.
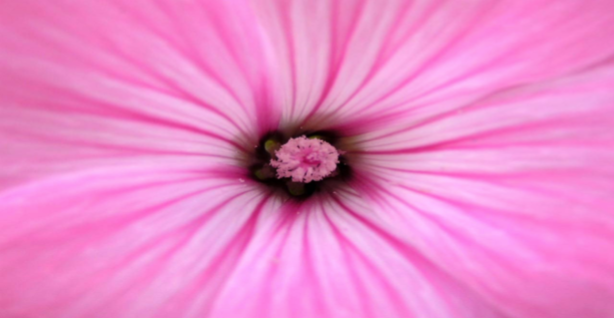
The Tile option lets you adjust the texture size, angle and position inside the shape. The texture will not be deformed.
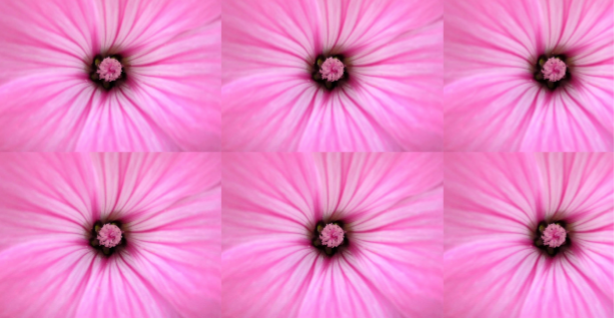
Scale resizes the texture. The round and square controls let you rotate and move the texture around. These options are available when the Placement is set to Tile.
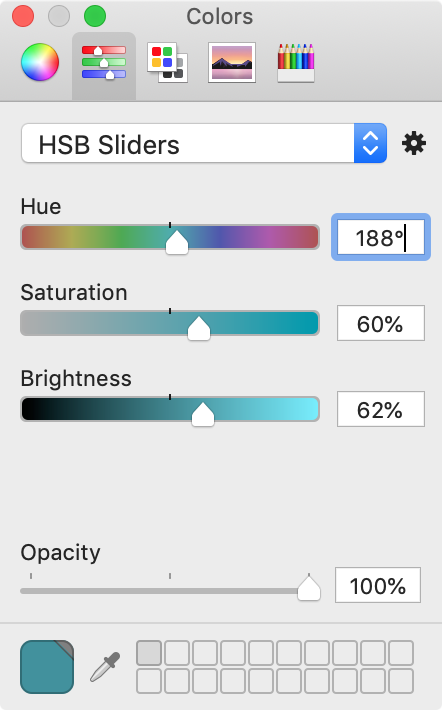
The Color button lets you change texture colors. Its effect is a combination of the Hue, Saturation and Brightness color properties. You can switch the Colors pane to the HSB Sliders mode to be able to adjust the sliders separately.
The Reset button restores the original texture color.