Getting Started
Quick Start Guide
This guide will give you an idea of how you can create a new design in Art Text. There are many possible ways to do that. Here, we are going to learn a simple method. Although the guide comprises a sequence of steps, you can change their order, skip some of them, or add new ones.
For a better understanding of the location and names of the program controls, it is recommended that you look through The Main Window section beforehand. An image below shows the most important parts of the main window.
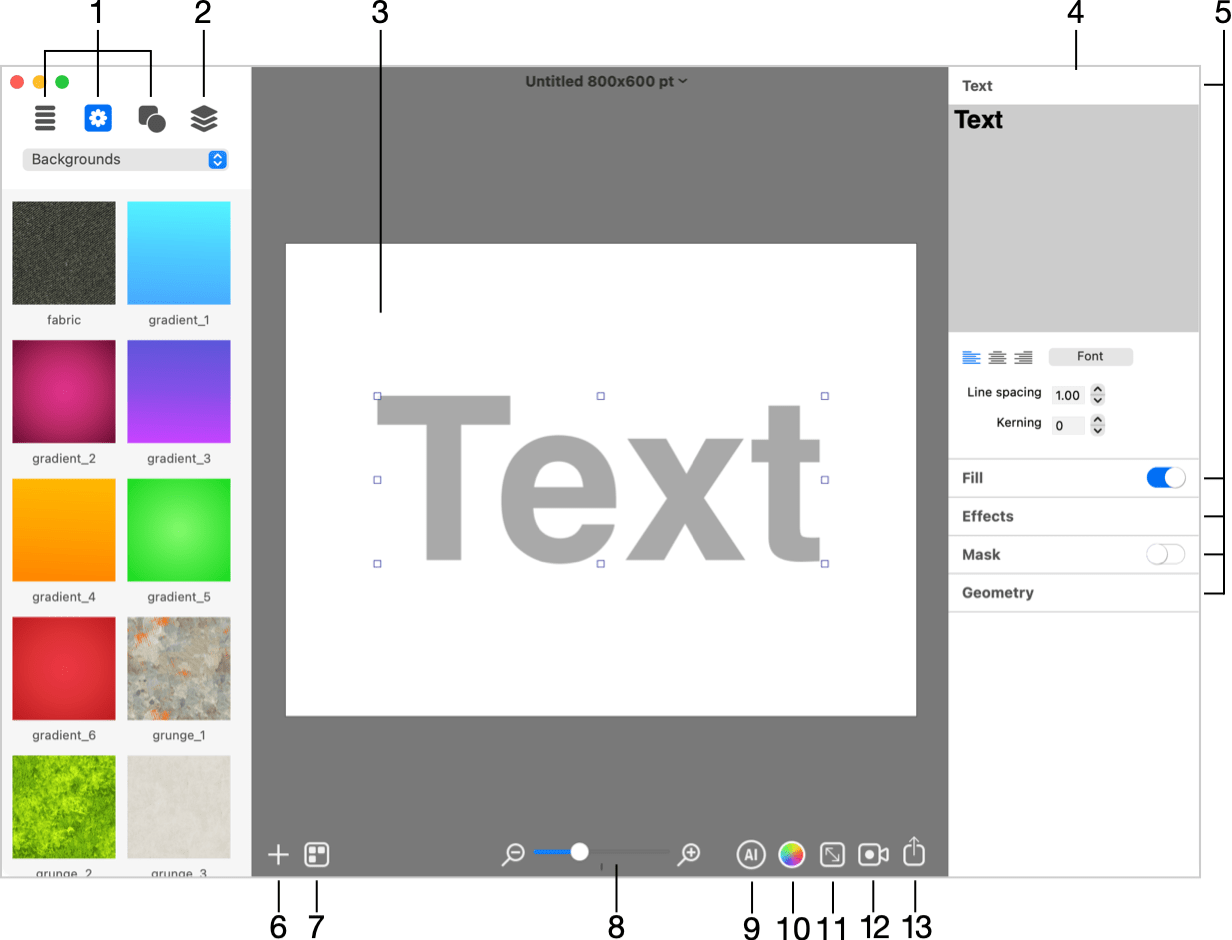
1 – Libraries of style presets, backgrounds, icons and shapes.
2 – The list of layers.
3 – The canvas.
4 – The Inspector.
5 – Sets of tools. To expand a set of tools, click on its title. Some tools have an On/Off switch or a choice of presets next to the title.
6 – Add a new 2D or 3D object.
7 – Open the Design Gallery that contains samples of designs.
8 – The zoom tool.
9 – The Colorize button lets you access the Hue, Saturation and Brightness settings that can modify the whole design.
10 – The Document Size button opens settings such as the size and measurement units.
11 - Create an animation.
12 – Export to the Clipboard or file.
To learn the program, you may find it useful to open a finished design and try to modify it or explore what kind of objects it is made of. To browse sample designs, choose Window > Design Gallery from the menu. Then select the Design Gallery section at the top. In order to edit a design, double-click on it.
Step 1: Opening a new document
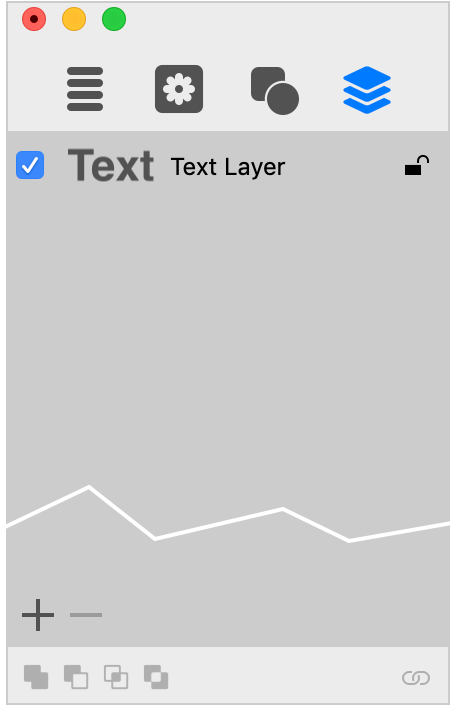
To open a new Art Text document, choose File > New. New documents have a text object by default. You can either replace it with your own, or delete it in order to begin with a blank document. To do this, open the layer list in the Content panel, and click the minus button.
For a quick start, you can open a sample from the library and then modify it.
Step 2: Setting up the document size
The document size defines the image dimensions when you export your design to a graphic file. To set up the document size, click the Document Size button below the canvas. In the Document Size dialog, you can also select the measurement units.
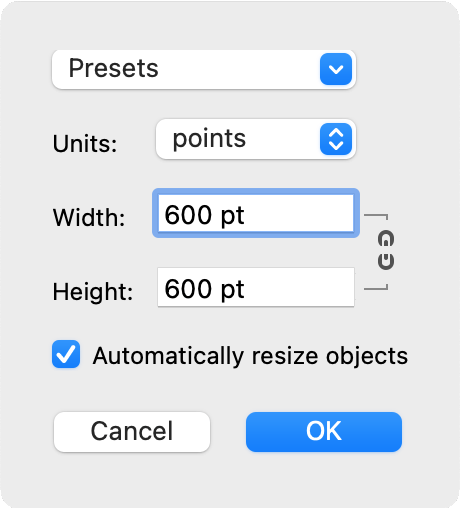
You can change the document size later at any time.
Step 3: Adding text and images
To create a design based on a style preset, open the leftmost tab in the Content panel and select one of the categories. Then drag and drop a design you like to your document.
To add text with the default style, click the plus button in the bottom left corner of the canvas and choose either 2D or 3D Text.
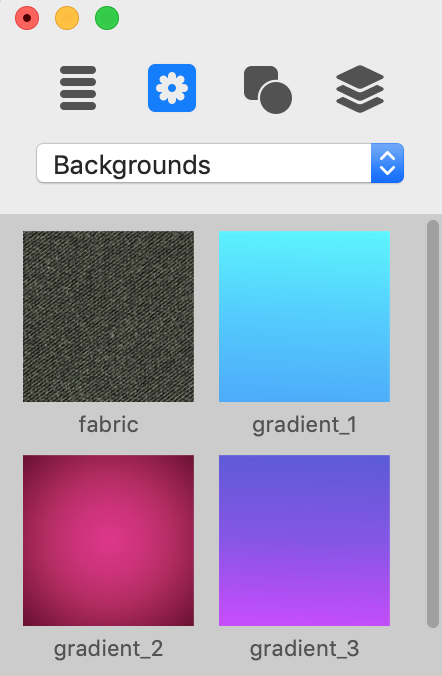
In order to add images, open a collection of backgrounds in the Content panel:
or a library of shapes and icons:
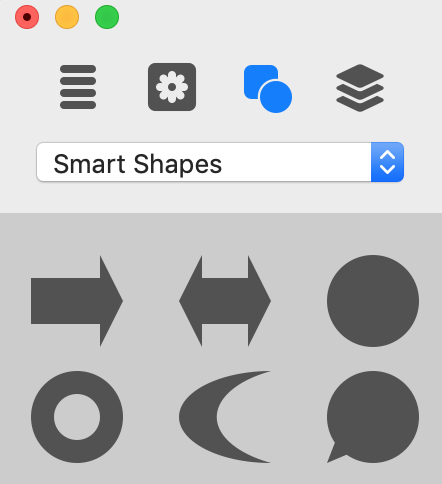
Finally, drag one you like to your design.
Both text and images can be also called in the program "objects" and "layers" depending on the context.
Step 4: Moving and resizing objects
To move an object (text or image), just drag it with the mouse on the canvas.
In order to change the object size, select the object and move a handle on the object's boundary.
Step 5: Editing text
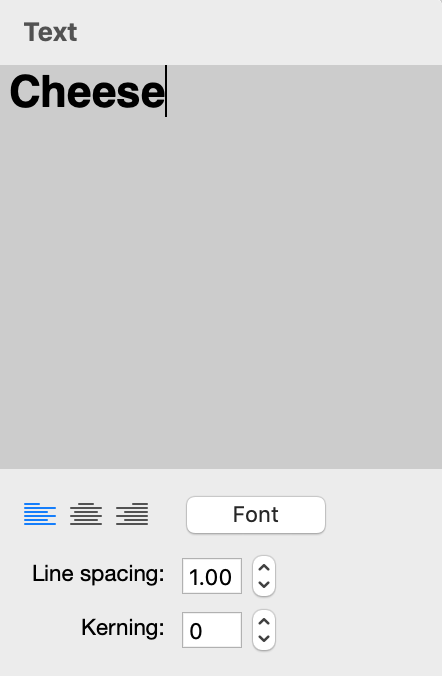
To edit text, select it on the canvas. Then click on the Text title in the Inspector to open the text editor. Modify your text in the text editing box.
Step 6: Applying effects
Applying effects is what Art Text documentation is all about, so we will not discuss any particular effect in this guide. Most of the effects and tools are grouped in the Inspector as sections. To open a section, just click on its title.
Note that 2D and 3D objects (you had to choose either 2D or 3D type in Step 3) let you use only those effects which are compatible with the object type.
The Effect Guide lists the effects available in Art Text.
Once your design is ready, you can experiment with changing its colors. Using the Colorize button in the main window, you can adjust the Hue, Saturation and Brightness of the whole design. This also lets you create a unique design out of samples provided in the Design Gallery.
Step 7: Organizing layers in your document
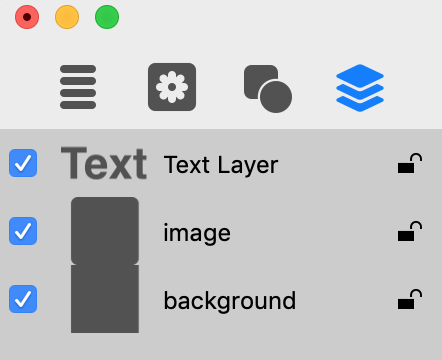
When referring to layers, we mean that any object can appear on the canvas above or below other objects. All layers of your document are listed in the Content panel. A layer at the top corresponds to an object which is in front of others. To change this order, just drag a layer to a new position. In order to create a background, add an image and make sure it is at the bottom of the list.
Apart from the possibility of rearranging layers, the layer list lets you add and delete layers using the plus and minus buttons correspondingly.
Step 8: Saving your document
To save your document, choose File > Save from the menu.
Step 9: Exporting the final image
To export your design to a graphic file, click the Export button in the bottom right corner of the canvas. Then, choose either Clipboard or File.
The resolution for the Clipboard can be set in the Preferences dialog.
When you export to a file, you can choose the graphic format, resolution, and type a file name in the Export dialog.