How to Create a Logo
Watch the video or Continue reading this step-by-step tutorial that shows three easy ways to create a simple and stylish logo with Art Text:
Art Text comes with a great variety of vector shapes and smart objects. You can use any of the 1,500 supplied shapes to compose a logo or a badge. Alternatively, you can use vector drawing tools to edit or create your own shapes.
Vector Drawing Tools available in Art Text:
- The Shape tool is used to add and delete points when you draw or edit a shape path.
- The Move tool is used to move anchor points and adjust their direction lines.
- The Convert Anchor Point tool is used to change the point type from smooth to corner and vice versa.
- The Reverse Path Direction tool is used to reverse the direction of a selected path. To select the path in the editor, click inside the shape with the Move tool.
Creating a Cafe Logo With Shapes From the Supplied Collection

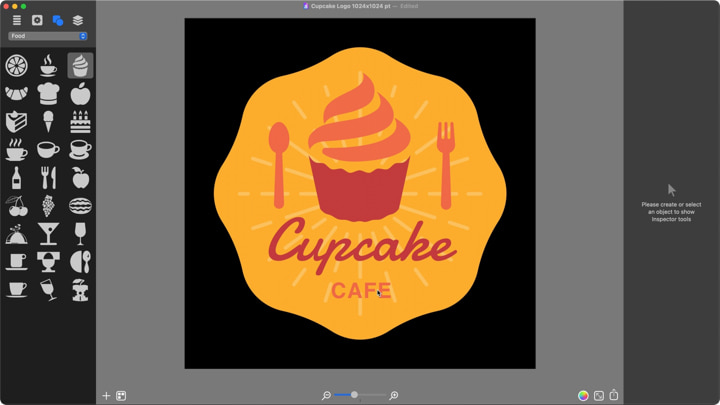
Add a black background and drop a wavy circle shape from the Badges category under the Shapes tab in the Source panel.
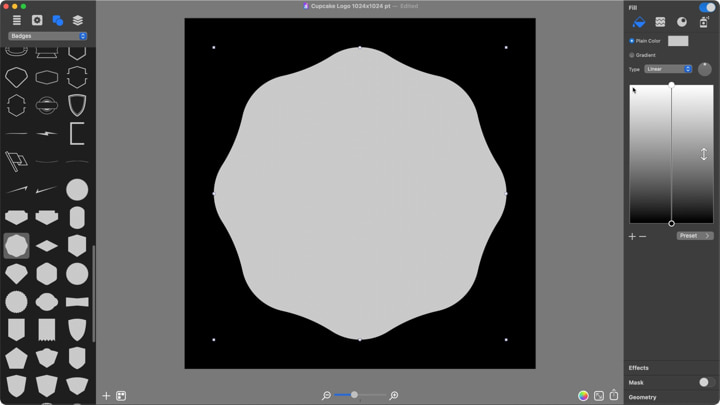
In the Fill tab of the Inspector, choose a color or gradient fill for the shape. For this simple logo, we chose a plain orange color.
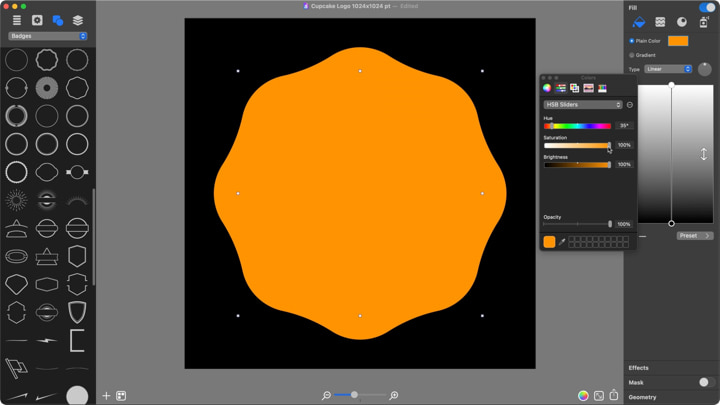
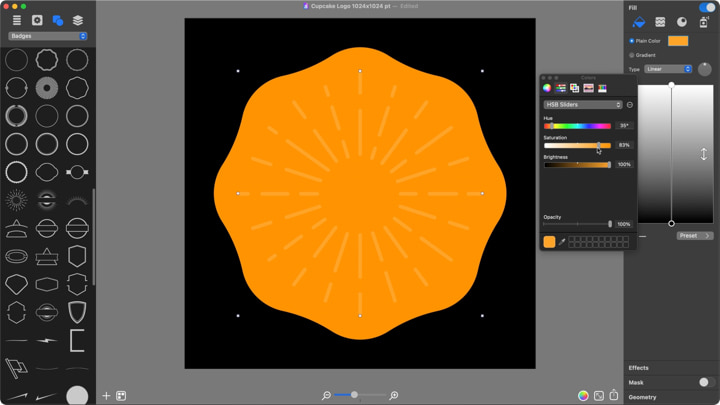
Drop another shape in the form of sunlight rays, also from the Badges category. This time use a slightly lighter orange fill color.
In the same manner, add and color the spoon and fork vector shapes.
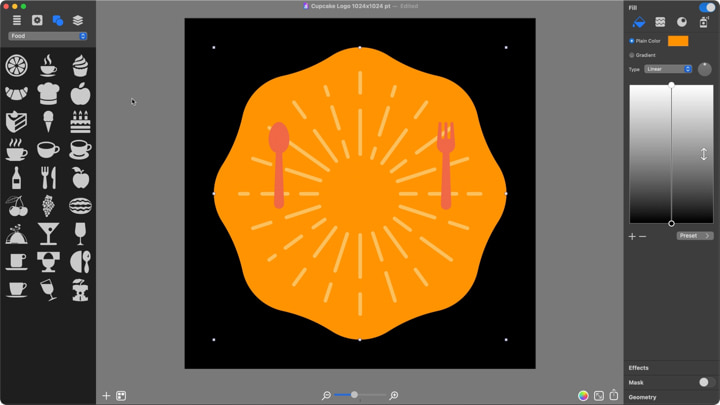
Once the logo base is ready, add a cupcake shape as the logo centerpiece.
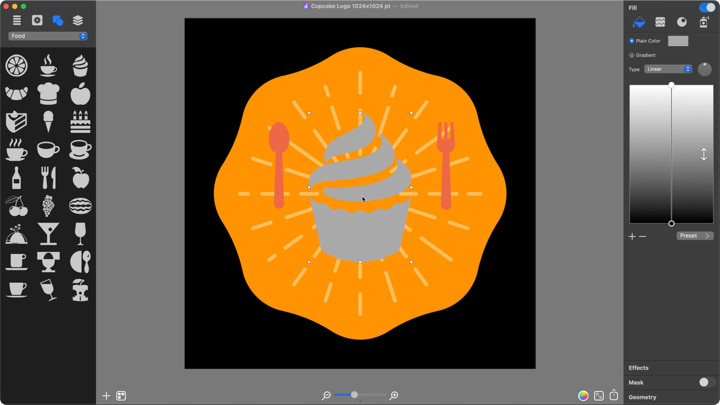
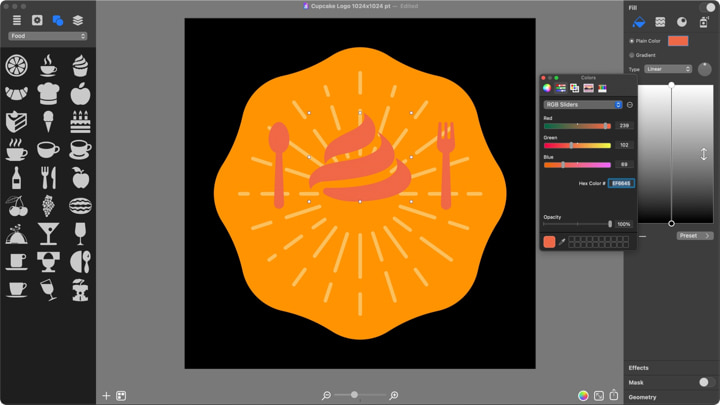
Double click on a shape to activate the built-in vector editor. Select and remove the cupcake cup and click Done. Fill the top with a light red color.
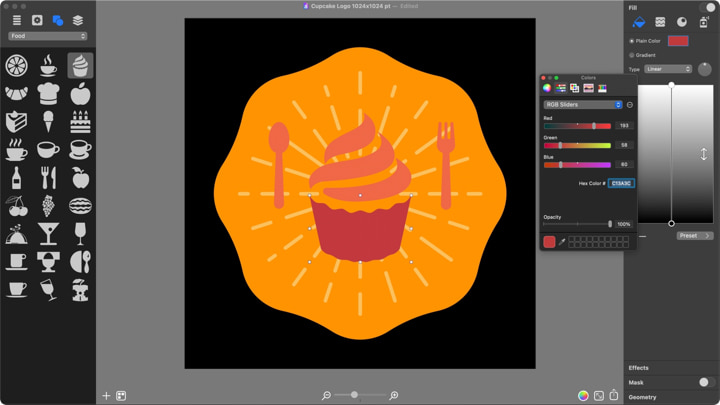
Add another cupcake shape, but this time remove the top and fill the bottom with a dark red color. Group two cupcake parts to work together as if it’s a single object and position it slightly above the center.
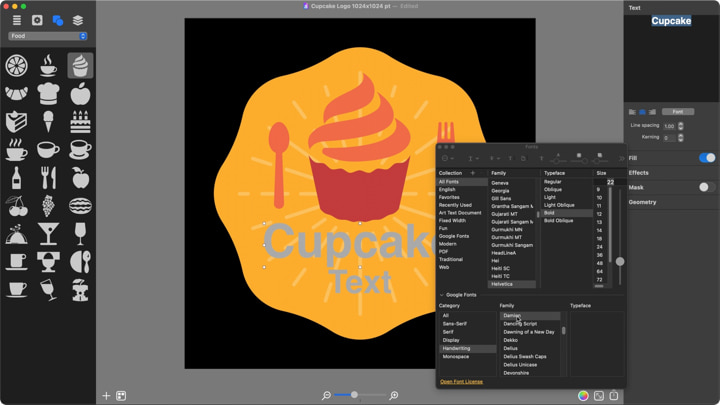
Add two simple 2D texts via the Plus button in the lower left corner of the workspace and change the top word to Cupcake. For the font, use a handwriting font from the Google Fonts collection. Art Text offers a convenient integration with Google Fonts; you simply need to expand the standard system Fonts dialog.
Then change the second word to CAFE, choose the dark red color for Cupcake and the light red for CAFE and you’re done!
Creating Your Own Vector Shape for a Logo Using the Art Text Drawing Tools
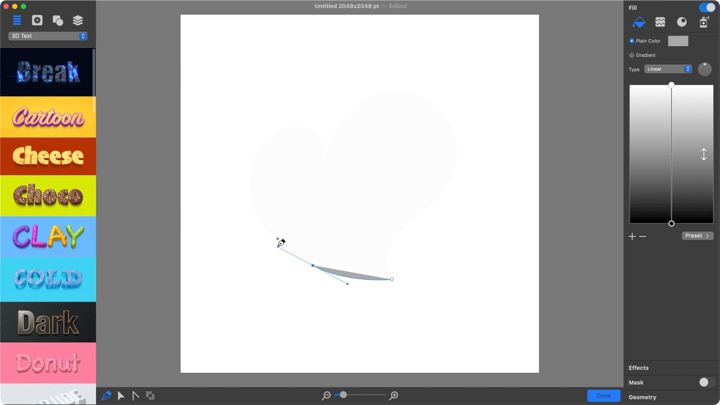
Draw a heart. To do this, enable the Shape tool by clicking on the Plus button in the lower left corner of the workspace and start adding contour points.Once you add the second contour point, slightly move the cursor to give the line a curvy shape.
The same goes for every point you add. Use the Move tool to change the heart shape curvature by moving the spline handles. Add nine contour points that will create a heart shape.
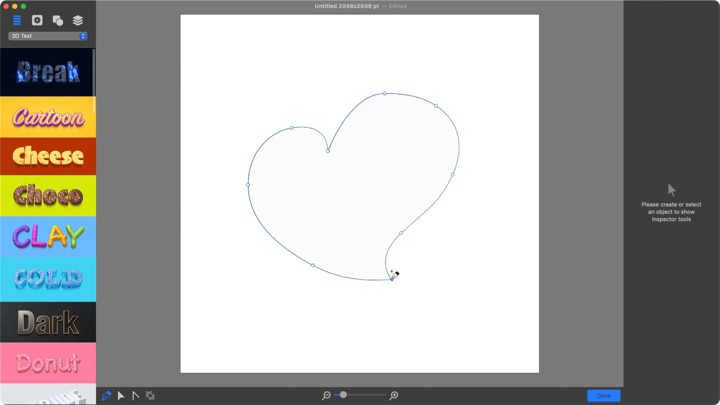
Once the heart shape looks satisfactory, click Done, and the newly created shape is ready for use!
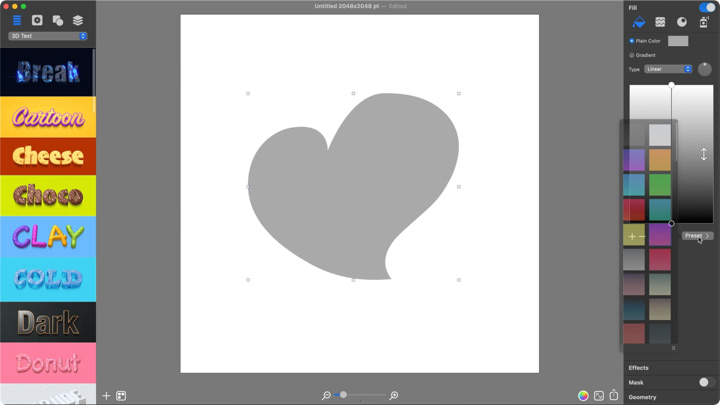
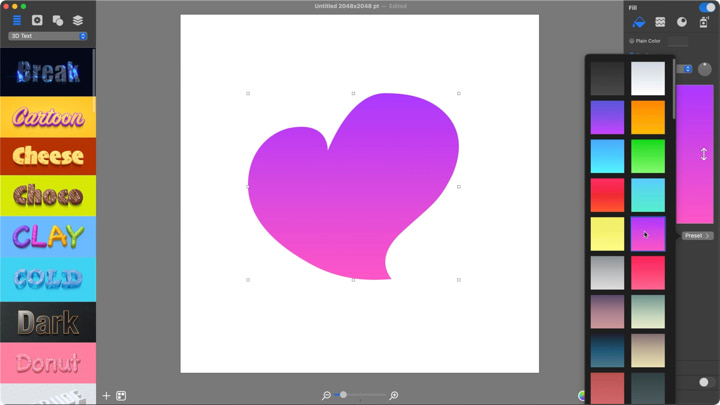
Resize it and apply Art Text effects as with any other shape.
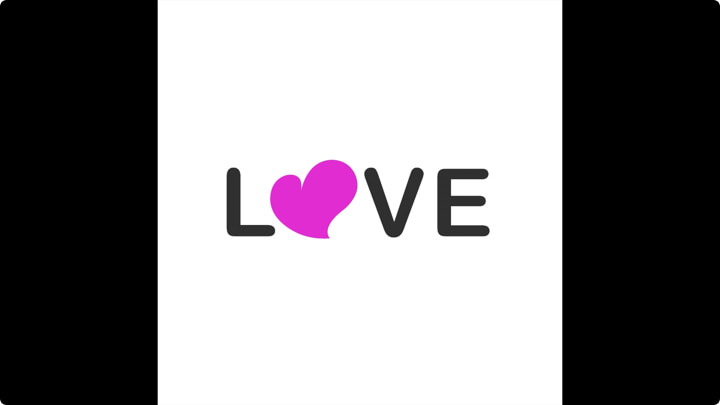
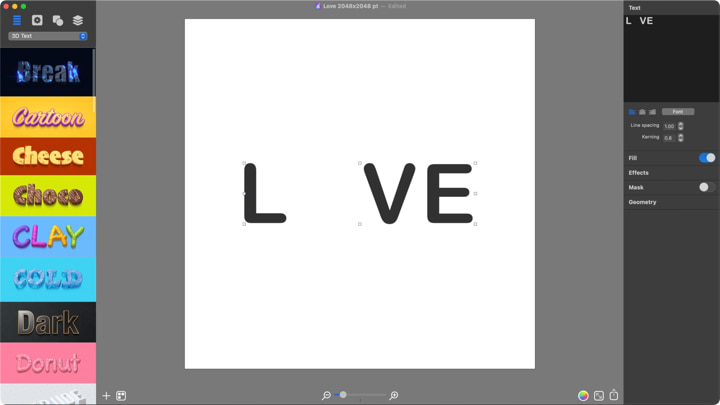
To complete the logo design, type the word “love” and leave a blank space in place of the letter O.
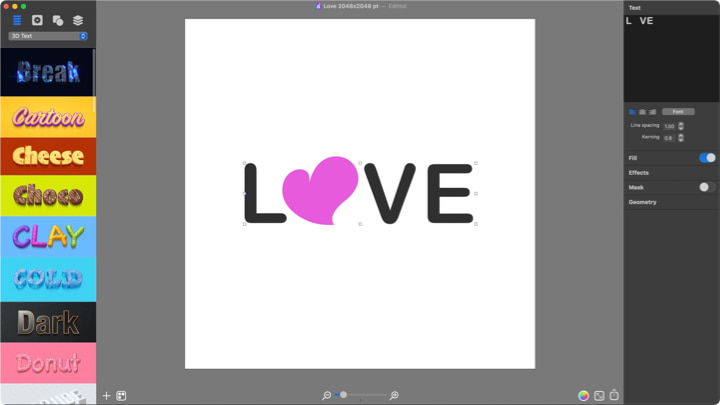
Fill the blank space with the heart icon and your unique logo is ready!
Customizing the Supplied Vector Shape
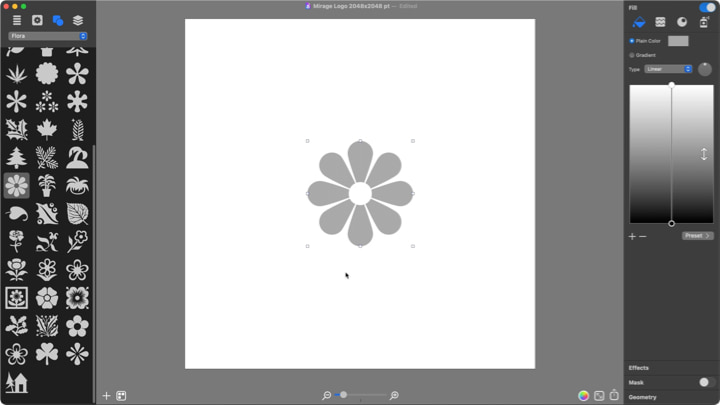
Choose a shape similar to the one you need from the Art Text vector shape collection. For this example, we chose a flower shape from the Flora category.
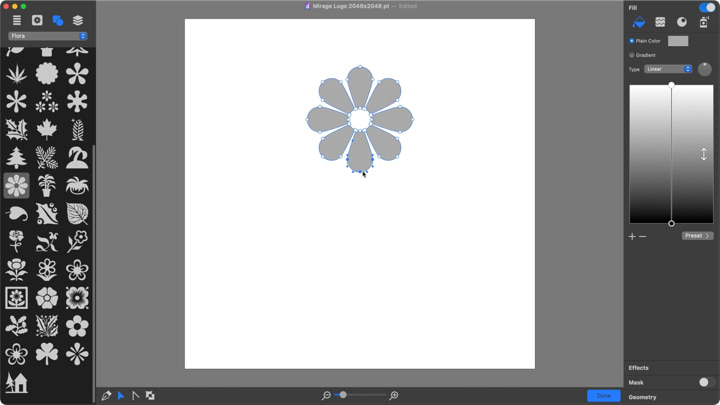
To start editing a shape, double click on it to activate the shape editing mode. Moving and adding new contour points will let you modify shapes.
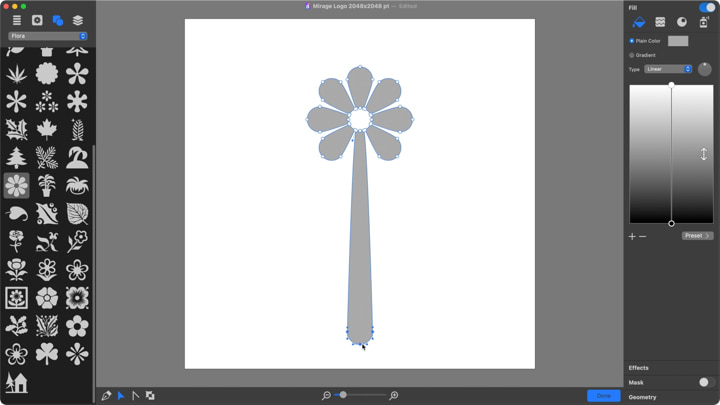
Extend the lower petal to create a stylized palm tree.
Add a new layer, fill it with an orange color and send it to the background.
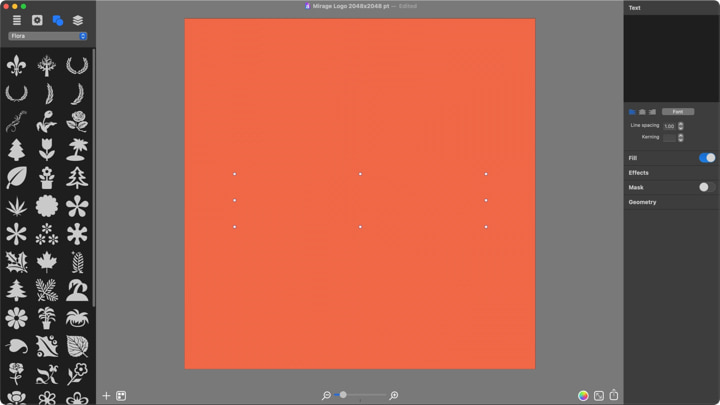
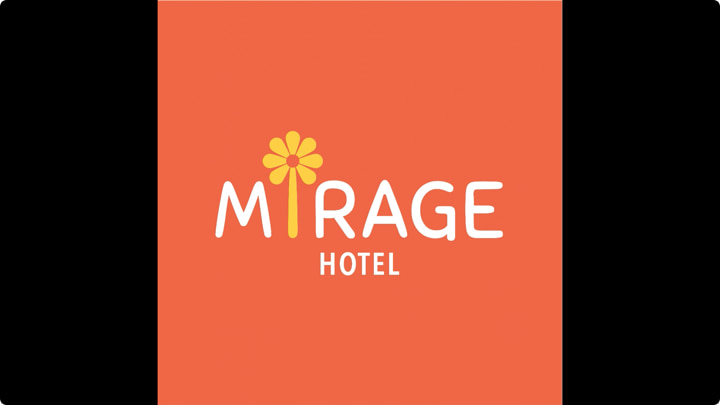
Same as with the love logo, type the word “mirage” with a blank space in place of the letter I.
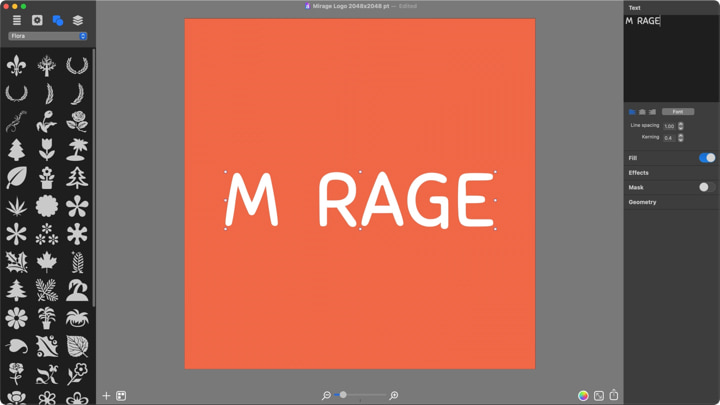
In the created space, place the palm tree you created previously. Your logo is ready!
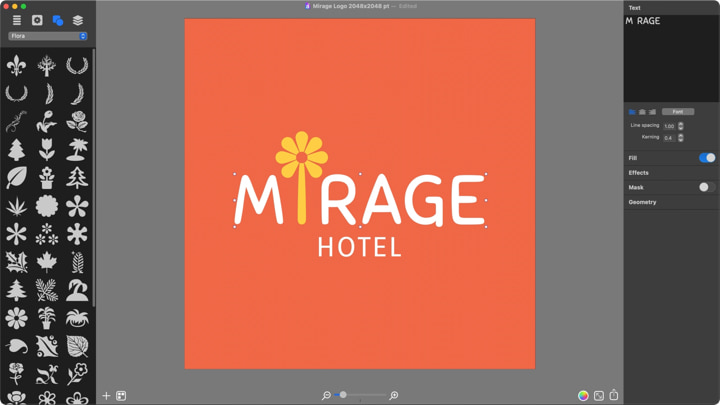
Try different ways of designing your logo with Art Text and choose the one that suits you best.