2D Tools and Effects
The Mask Effect
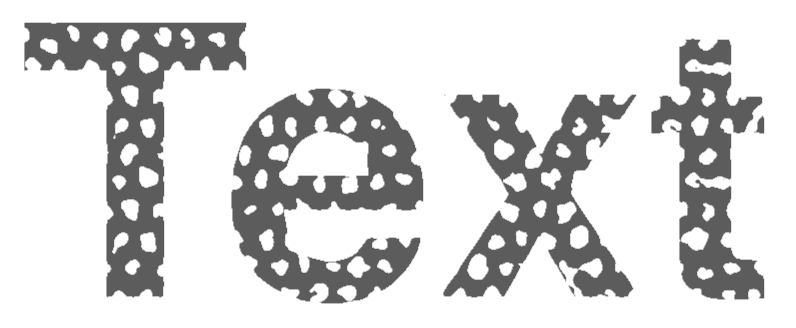
The Mask effect lets you apply a mask to an object. This effect is one of the Distortion effects. There is another tool in the program that also helps you apply a mask.
To apply a mask, open the Effects section in the Inspector. Then, click the plus button and select Mask.
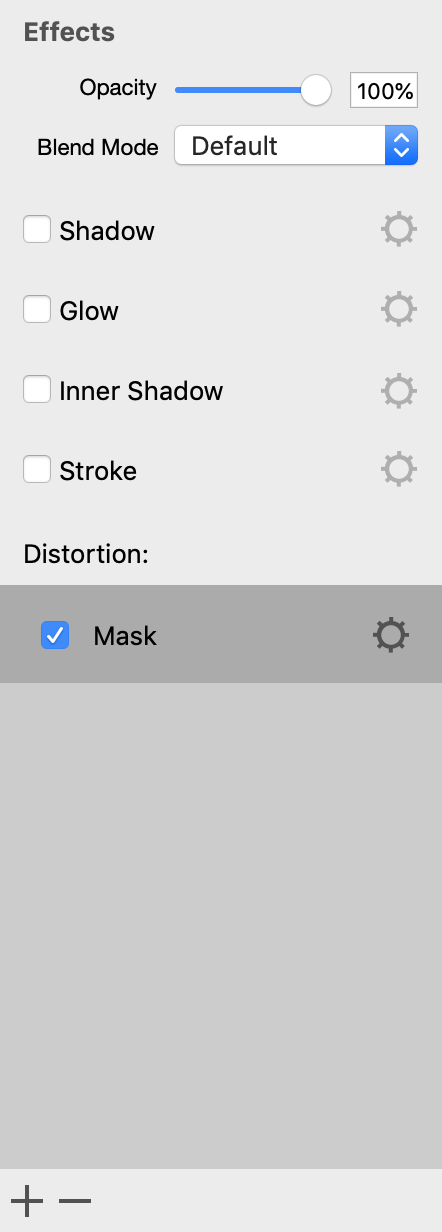
In order to modify the effect settings, click on the corresponding gear icon.
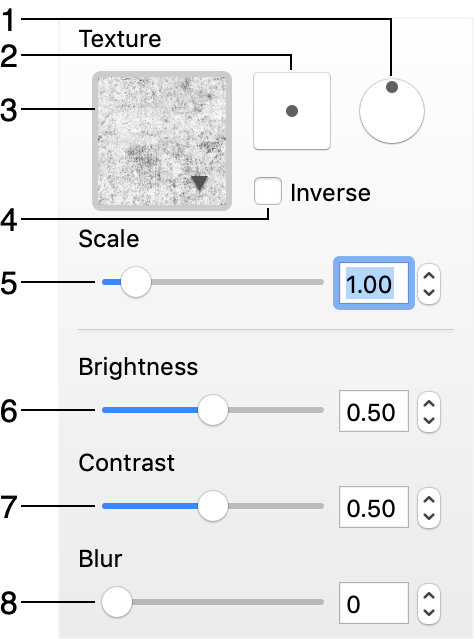
1 - Rotate the mask.
2 - Offset the mask in relation to the object.
3 - The library of masks. Click on it to select a different mask.
4 - Inverse the mask.
5 - The scale of the mask. The mask will be tiled if you make it smaller than the object.
6 - The threshold level. When the mask has different levels of the gray color, you can choose from which point certain tints of gray should create transparent areas.
7 - The contrast of the mask. It is useful when you have gray areas in the mask.
8 - Blur the mask. Increasing this parameter decreases the amount of details in the mask.